COMET Excel Plugin
Table of Contents
The Excel COMET Plugin can be used to run calculations using data, such as Parameter Values, from a Study Model. This is especially useful when a parameter owned by one domain affects another domain, for example, parameters owned by Instruments may be affecting parameters owned by Power.
NOTE: Each domain has a dedicated workbook template under the control of that domain. The steps below show how to use the COMET Excel Plugin on a blank workbook, but the same steps apply to a workbook with pre-existing sheets
Opening a model in COMET Excel Plugin
-
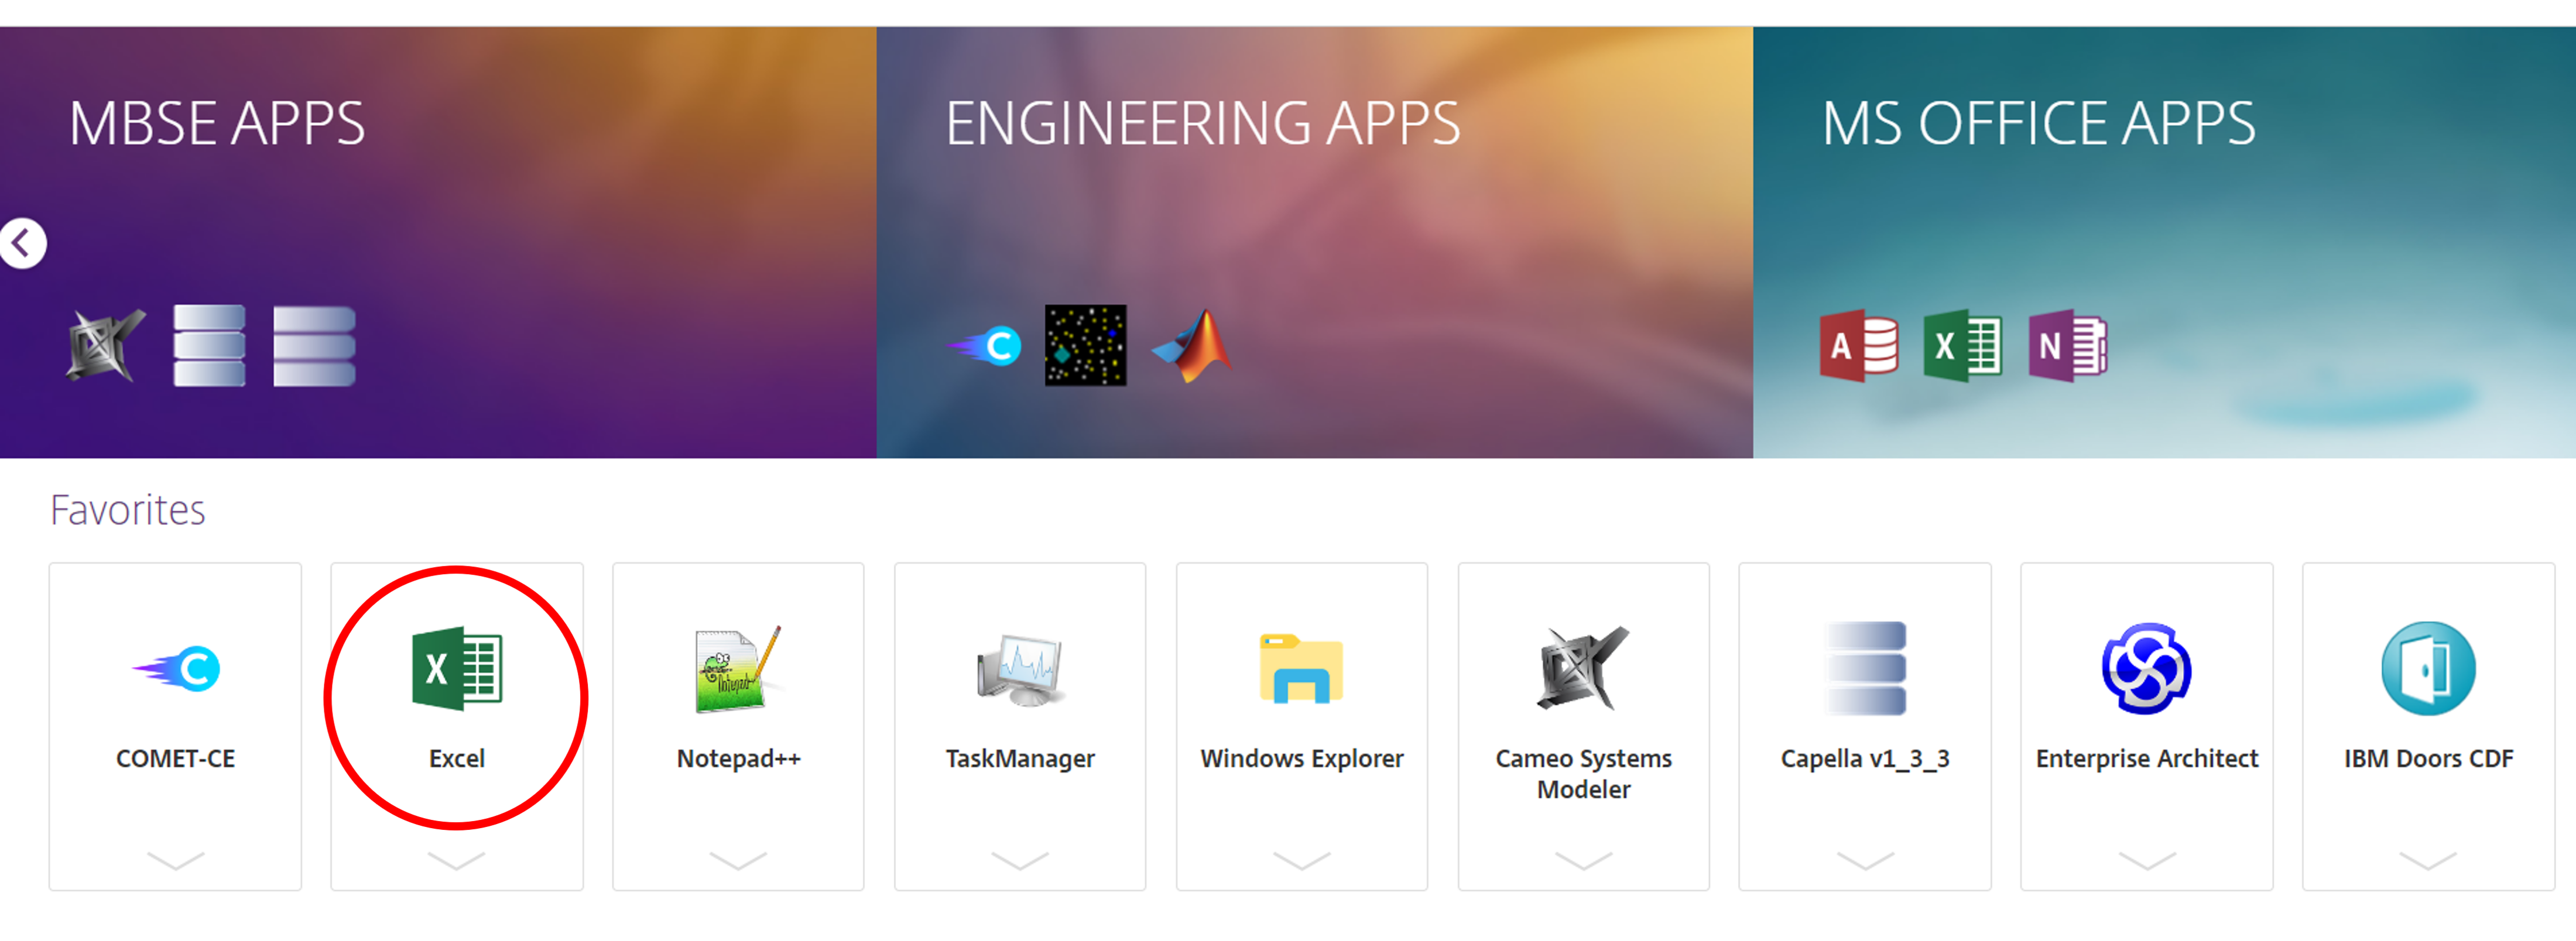
Navigate back to Citrix in the same location where the COMET Application was found and double-click on the Excel icon. This will open an instance of Excel with the COMET Excel Plugin.
-
Switch to the COMET tab and click on
Open: -
Enter COMET credentials (⚠️COMET and Citrix credentials are different). COMET credentials are provided by Assistant Systems Engineer (ASE).
-
Click on
Connect and Open Model. -
Select the Study Model from the list and click on
Open.
Excel workflow
It is up to the user to decide when to pull and push data between the Study Model on the server and the COMET Excel Plugin (⚠️ this is not automatic). Two actions can be taken in this respect:
Rebuild: will pull Parameter Values from the Study Model on the server and create one new sheet called Parameters and one additional sheet for each Option defined in the Study Model.
Submit: will push the updated Parameter Values from the COMET Excel Plugin to the Study Model on the server.

Pull values from the model
Click on Rebuild and wait for the Parameters sheet and option(s) sheets to be created. This step must be repeated:
- When the workbook is first created.
- Each time the workbook is opened.
- Whenever it is known that a new Publication has been performed on the Study Model and Parameter Values have changed.
NOTE: Clicking
Rebuildon a workbook which already contains the auto-generated Parameters sheet and option(s) sheets will re-generate and overwrite them
NOTE: Rows in the Parameters sheet can be un-expanded to ease viewing as shown above
Computation in Excel
-
The workbook is now ready for use. Parameters in the auto-generated sheets can be used to compute any required value. As the Parameters sheet is re-generated on every
Rebuild, the same parameters could be listed in a different cell after everyRebuild.⚠️ WARNING: For this reason, it is important NOT to use cell codes (eg. $A$12, $B$4) to refer to a Parameter Value in the Parameters sheet. Instead, use the auto-generated cell names on the
Actual Valuefield in the Parameters sheet when using Parameter Values in the Excel computations. These cell names will be persistent afterRebuild -
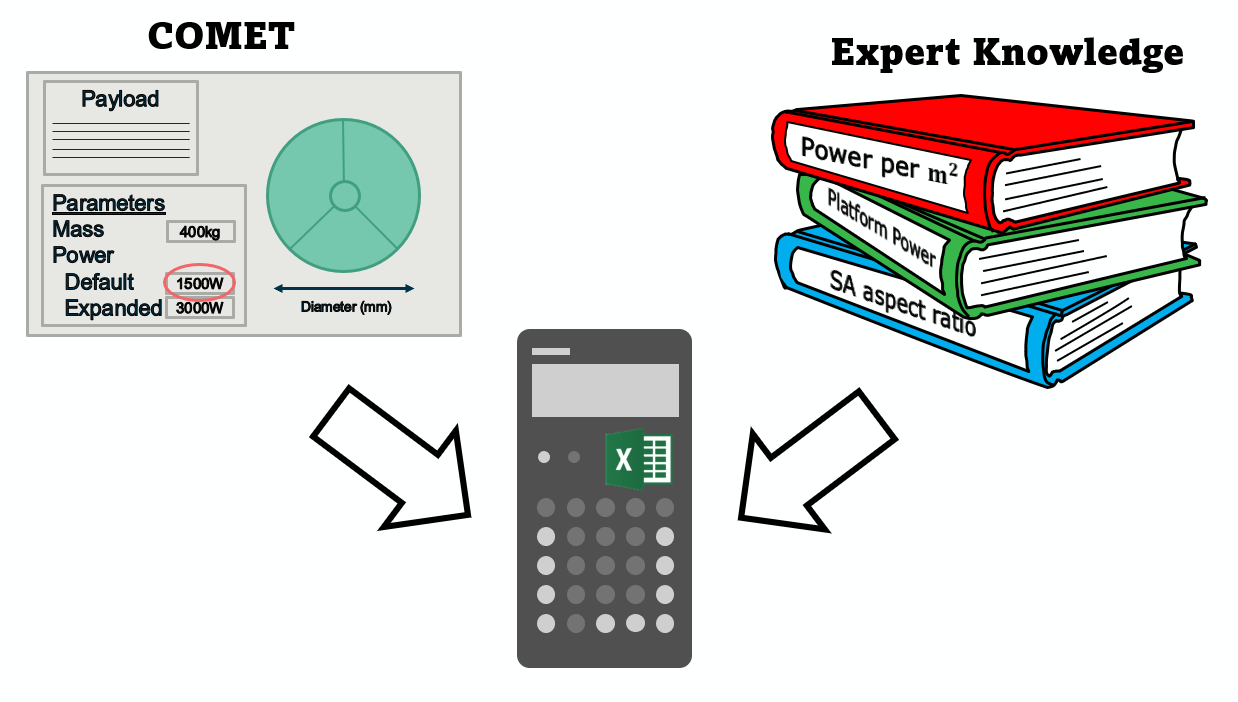
An example of a computation where the payload power is used to size the solar array is shown below. Here, the payload power is taken from the Parameters sheet by using the cell name.
NOTE: When a parameter is Option Dependant, both values will appear in the Parameters sheet. For this example, the value corresponding to the “Default” Option will be used
-
The computation uses both data from the Study Model on the server (under “Inputs from COMET”) and data known by the domain expert (under “Other Inputs”). The total power consumption of the spacecraft, which includes an arbitrary “Platform Power”, is used to find the total solar array area required. This is then used to find the height and width of one solar array, assuming the aspect ratio of the solar array is 3.
Push values to model
- Once the computation is completed, the new value(s) should be pushed back to the Study Model on the server. To do this, the computed value must be placed back into the Parameters sheet:
⚠️ WARNING: For the same reason explained in Step 1 above, it is important NOT to use cell codes (eg. $A$12, $B$4) but cell names to link the computed values back to the Parameters sheet
- Give a clear name to the cell containing the computation result to be pushed back to the Study Model as a Parameter Value.
- In the Parameters sheet find the parameter of interest.
- Ensure to change the
SwitchtoCOMPUTEDto indicate that this value resulted from a calculation. - Enter the cell name that was attributed to the computed result in the
Computedcolumn.
-
Finally, the newly computed values can be pushed back into the Study Model on the server using the
Submitbutton. A dialog will be displayed highlighting the introduced changes. ClickOK. -
Once the push is complete, the computed values will also be visible on the COMET Application:
Hide Example
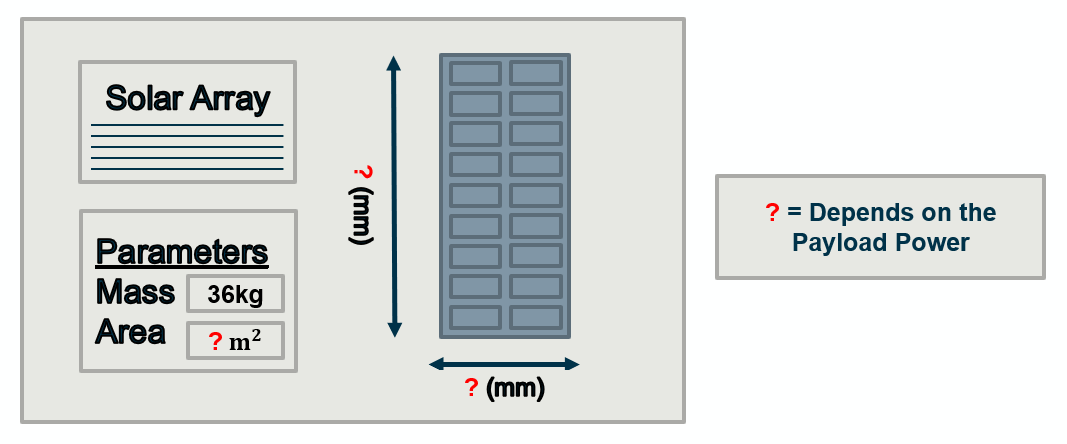
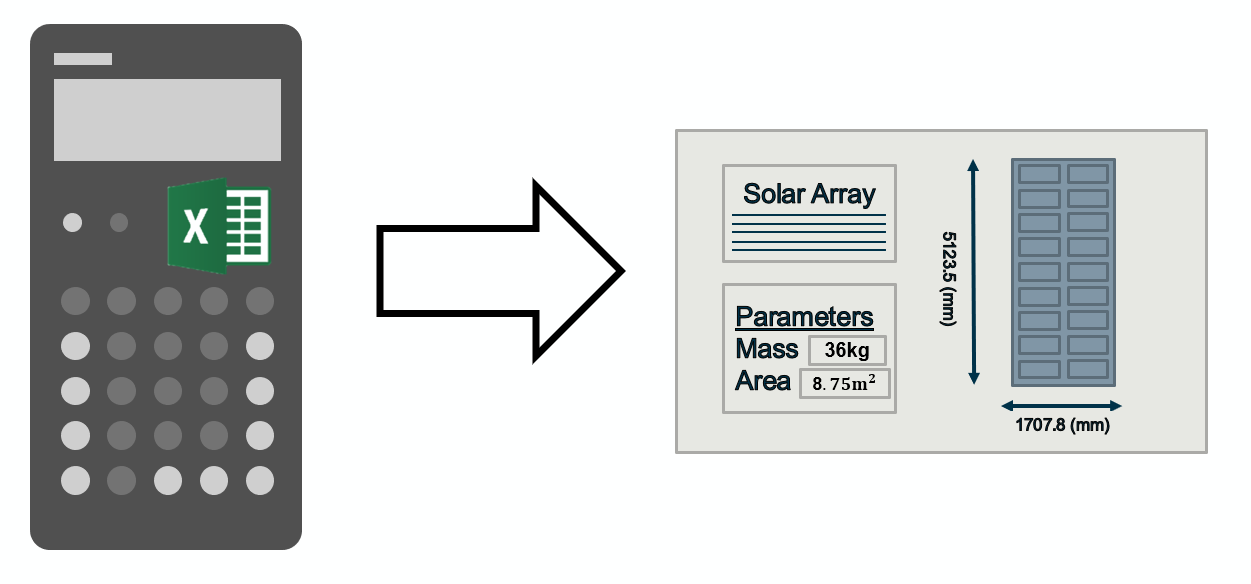
The value of the payload power is accessible to the Power expert as they can see other experts' blueprints. They can therefore use this value, along with their own expertise, to calculate the dimensions of the solar array.
This corresponds to the Power expert using the Power workbook to perform calculations with subscribed parameters in the COMET Excel Plugin.
After having performed the calculations, the Power expert can complete the solar array blueprint with the newly computed values.
This corresponds to the Power expert using the Submit button on the COMET Excel Plugin to push computed values back into the Study Model on the server.