Astos adapter - User manual
Table of Contents
- Introduction
- General
- Set-up and Initialization
- Getting Started
- Mode Selection and Control
- Normal Operations
- Normal Termination
- Error Conditions
- Recover Runs
Introduction
This guide is to explain step by step the process to transfer values or objects from Astos software to COMET and the other way around.
General
The following description explains the use of ASTOS linked to an E-TM-10-25 data hub and the data exchange with the hub. It explains how to define imports and exports how to preview the resulting data exchange and how to transfer data form or to the hub.
Set-up and Initialization
The setup and installation procedure for ASTOS is described in Astos Installation manual. As the E-TM-10-25 Adapter is an integral part of the software, there are no further dedicated installation steps required. Please execute the latest installer to update to a new version. In case ASTOS with the same version (9.24, 10.0) is present on the target system, the respective instance is removed during installation.
Getting Started
For the general use of the ASTOS software please refer to [RD1] and [RD4]. In the following the use of ASTOS connected to an ECSS E-TM-10-25 data hub (in the following called COMET) is explained. This explanation expects basic knowledge on the usage of the ASTOS HMI. As ASTOS already provides the capability to link to other databases, the work flow has been taken over for the COMET Adapter. Therefore, data import and export are handled differently: The import is realized by so called ASTOS variables. These are scenario parameters that are fed by an external data source like Excel, MySQL or now also a COMET data hub. The export part can be defined directly in the COMET Adapter from the “Export” tab. To set up data exchange with a E-TM-10-25 EngineeringModel from an external data source, please open an existing ASTOS scenario (standalone scenario without links to external databases). This scenario can now be prepared for data exchange with the COMET data hub. Before creating imports and exports and before any data exchange, the user has to establish the connection to the data hub. Therefore select “Comet Data Hub Variables” from the Variables tree on the left of the main window. Insert the data hub URL and your credentials and click on “Connect”. As soon as the connection is established, the drop-down boxes in the “Peer selection” panel will be filled (this can take several seconds). After selecting the desired “Engineering model” in an available “Iteration” (only the latest Iteration can be written to, see E-TM-10-25 specification) and a “Domain of expertise” to exchange data as, please press the “Open iteration” button to initiate data exchange with the desired peer and role. This may also take some time until all required data is transferred via a network connection. It is considered that the Engineering Model on the data hub is already filled with appropriate data. If this is not the case, please prepare a matching EngineeringModel on the COMET hub now. Afterwards ASTOS Variables for data import can be defined in the “New Scenario Wizard” for E-TM-10-25 (see to the Tutorial section in this manual) or during normal Scenario configuration by right-clicking on elements which support Variable association (see 5.4.2).
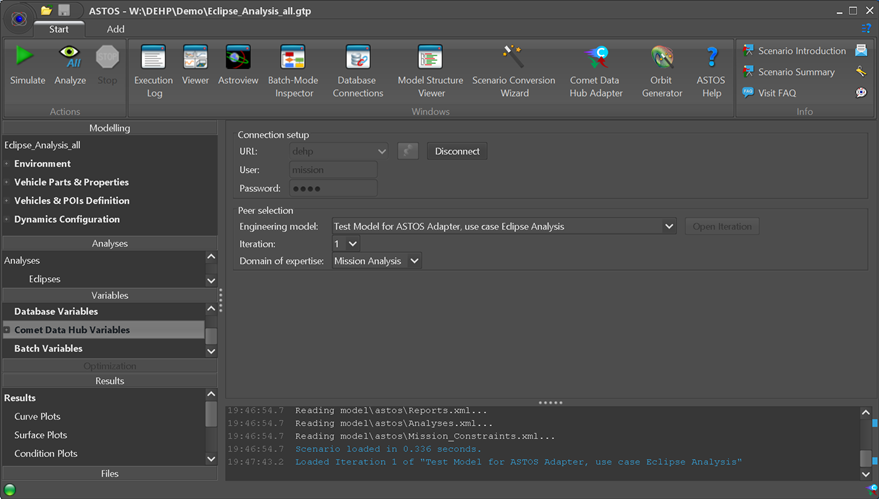 Figure 6-1: ASTOS main window with COMET Adapter icon in the ribbon (connected state)
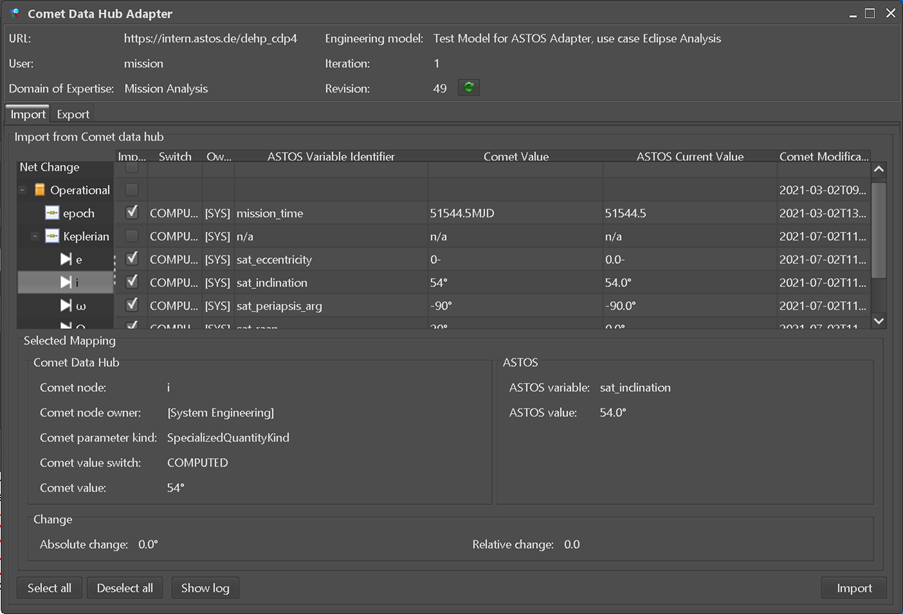 Figure 6-2: COMET Adapter as integrated into the ASTOS software
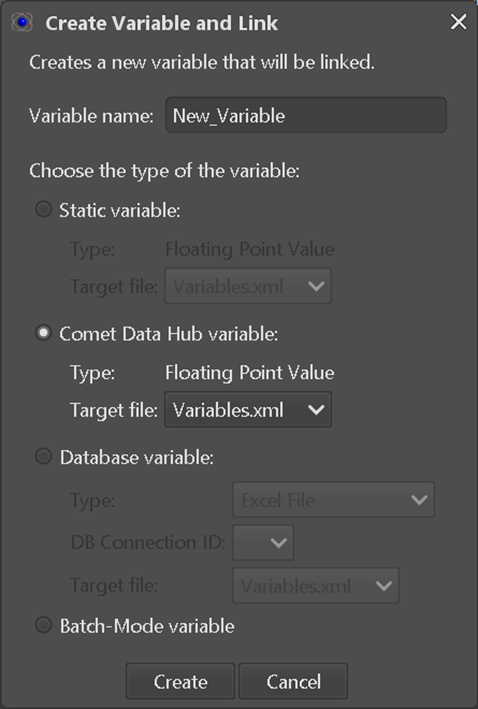 Figure 6-3: Definition of a COMET (E-TM-10-25) variable
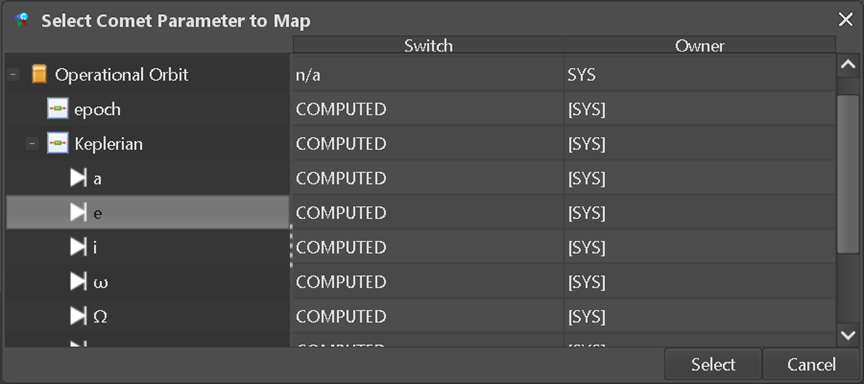 Figure 6-4: Export definition: Selection of an E-TM-10-25 parameter
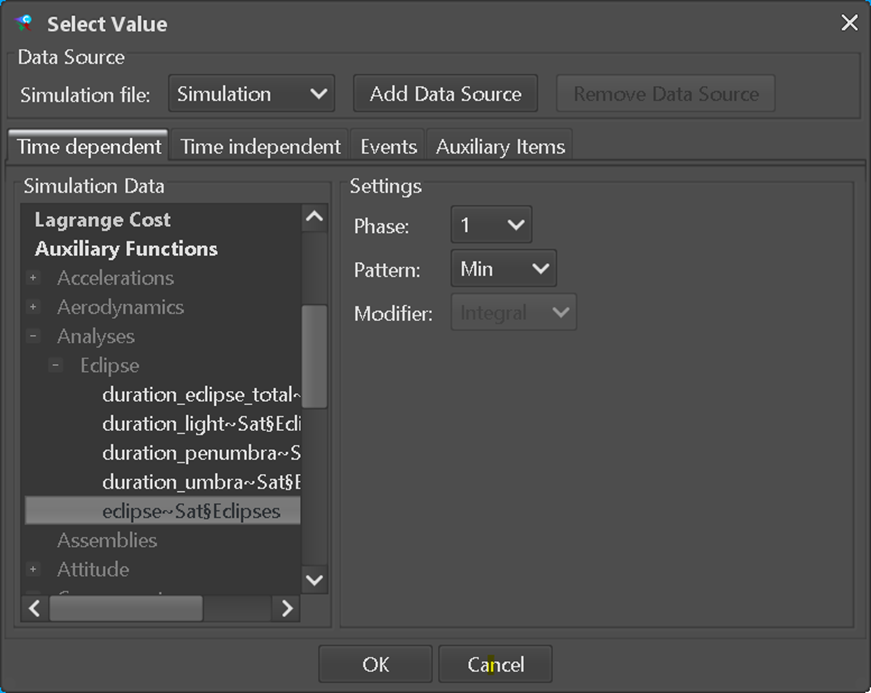 Figure 6-5: Export definition: Selection of an ASTOS simulation data item
Mode Selection and Control
The link and data exchange between ASTOS and a E-TM-10-25 data hub is managed via the COMET Adapter (see Figure 6-2) and the COMET connection handler on the main panel bound to the “Comet Data Hub variables” (see Figure 6-1). Imports can be defined via the scenario parameter context menu by creating ASTOS Variables of the kind “Comet Data Hub”.
Normal Operations
The ASTOS DST adapter lets the user transfer data from or to an E-TM-10-25 data hub. Only E-TM-10-25 parameters listed in section Operational Constraints are supported for import and export.
Import Data from the Hub
During regular use, a variable is created by right-clicking into an input field. This opens a context menu. Depending on the type of the input field, the menu offers various opens. Selecting “Create ‘Floating-Point Value’ variable and link…” will open a dialog (see Figure 6-3). In the dialog the user can assign a name to the variable and can select the variable type (please read section 2.10.4 of [RD1] for a detailed explanation on ASTOS variables). Select the radio button “Comet Data Hub variable”. The target file can be left as “Variables.xml”. After clicking on create a dialog will pop up and shows a filtered tree of the Parameter Definitions in the selected Engineering Model. The target selection is filtered and will only allow assignment of entries compatible with the selected input field (parameter type and unit are used as filters). In case the user selects “Create ‘Unit-Value’ variable and link…” from the context menu, the full block comprising number field and unit selector will be linked to a COMET parameter and the units in COMET and in ASTOS will be correctly converted during import, otherwise (in case of a ‘Floating-Point’ variable) the numerical values are directly imported neglecting any unit mismatch. To map E-TM-10-25 data to a ASTOS “Interpolation Table” variable, the inputs for the local table MUST be set up to match with the corresponding “Independent Parameter Type”s of the SampledFunctionParameterType that is defined on the hub side. In case multiple “Dependent Parameter Type”s are define in the Parameter to map, the user has to select which one is to be used by the local “Interpolation Table”. All other aspects are comparable to scalar import mappings.
Export Data to the Hub
Parameters must exist in the data hub in order to export data to them. It is important to note that CompoundParameterTypes and SampledFunctionParameterTypes will require a full export link, i.e., it is not possible to export a subset of the dependent or independent variables or compound elements. After a simulation has been performed and the corresponding simulation file has been generated the user can link simulation data items to E-TM-10-25 parameters. To do so, the “Export” tab has to be selected in the COMET Adapter window. The “Add”-button opens a dialog where the user can select a target E-TM-10-25 parameter. To make a valid selection, the Parameter
- May not be already used in an existing export mapping
- Must be writable by the active DomainOfExpertise for data exchange When the user has selected a parameter and clicked “Select”, the next step will depend on the parameter type. For a scalar type a window opens where the user can directly select the corresponding simulation data item. If instead it is a CompoundParameterType or SampledFunctionParameterType, then an intermediate dialog opens where the user can assign an ASTOS simulation data item to each ParameterTypeComponent or ParameterTypeAssignment. Please note that the lists of available simulation data items will be filtered for compatibility with the selected E-TM-10-25 element (scalar/non-scalar and unit compatibility).
Normal Termination
The software can be closed via the system icon in the ASTOS main window or via the application menu “Quit” button. Existing connections to an E-TM-10-25 data hub will be closed before the software exits. Alternatively, the user can explicitly disconnect the connection before he closes the ASTOS software.
Error Conditions
The only direct failure conditions of the COMET adapter happen when URL or credentials are missing (see Figure 6-6) or invalid (see Figure 6-7) while connecting to a COMET data hub.
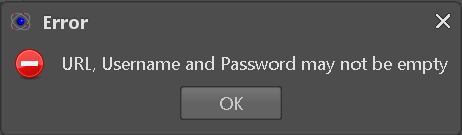 Figure 6-6: Comet Data Hub missing credentials
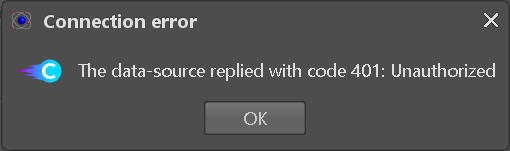 Figure 6-7: Comet Data Hub connection error When importing or exporting mapped data to or from the hub, the Adapter checks for new revisions on the remote side and aborts the transfer (see Figure 6-8: New revision detected on server) to avoid import of stale data or overwrite updates by another user without review of changed data.
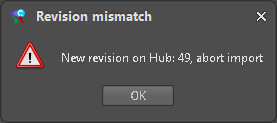 Figure 6-8: New revision detected on server
For errors regarding simulation or ASTOS scenario setup please refer to [RD1] (ASTOS user manual).
Recover Runs
Authentication errors can be rectified by retrying with the correct credentials. On persisting connection problems please contact the operator of your E-TM-10-25 server for further advice. When a transfer is aborted due to a new Revision of data in the associated EngineeringModel on the server, the locally cached data is updated automatically. The user can (again) review up-to-date differences, adjust which mapped elements to transfer and retry to execute the import or export task for the selected data. If the E-TM-10-25 server is not responding, you will notice it when attempting to transfer data to the server or if you try to refresh the locally cached data. You might want to reconnect to the COMET® server (the way you connect the first time).