Matlab adapter - Tutorial
Table of Contents
Introduction
In the tutorial section, you will see how to use the software performing basic tasks.
Getting Started
To get started 3 simple tasks are required to be accomplished.
Starting the Adapter
Run the DEHPMatlab.exe from the location where you have previously unzipped the adapter zip file.
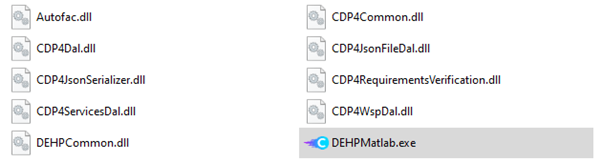
Figure 1:The MATLAB adapter install location.
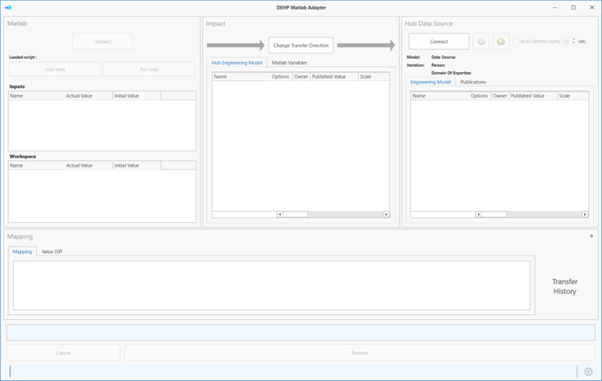
Figure 2:The main window at start.
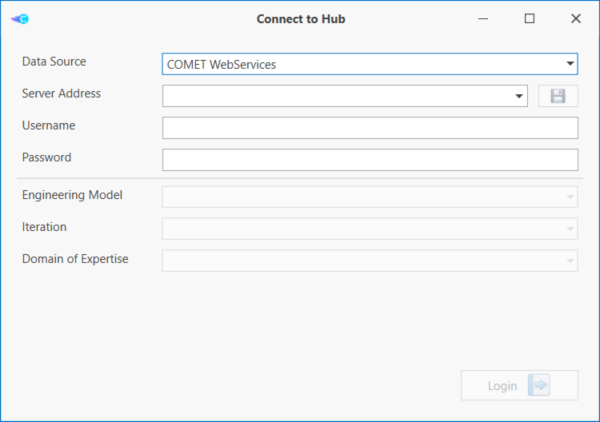
Figure 3:Connecting to a COMET® server and opening an Iteration.
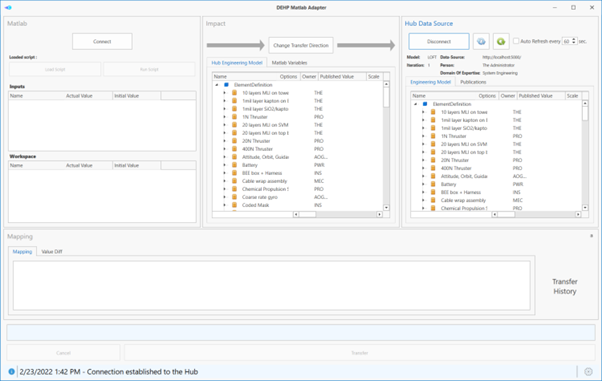
Figure 4:The main window with the ElementDefinition tree after opening an Iteration.
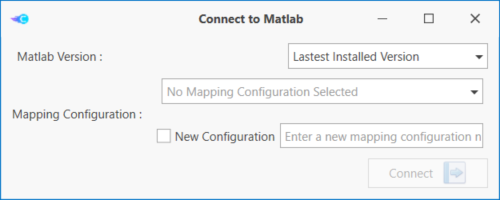
Figure 5:Connection to the MATLAB Server.

Figure 6:The main window with both data source connected.
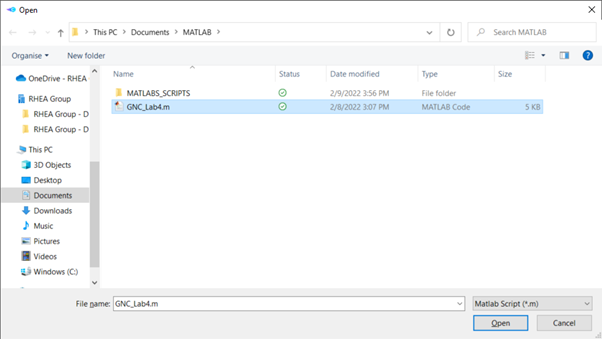
Figure 7:Select the MATLAB Script to load.
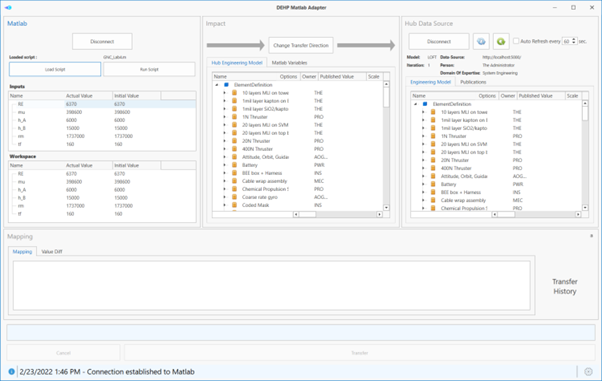
Figure 8:The main window with the script loaded.
Using the Software on a Typical Task
Mapping from E-TM-10-25 to MATLAB
- First, change the transfer direction so that the mapping source is the Hub Data Source.
- Select some ElementDefinitions that contain the values you want to map.
- Right click on your selection and select “Map Selection”.
- Map each desired value to one Variable.

Figure 9:Mapping a value from a Parameter to a Variable.
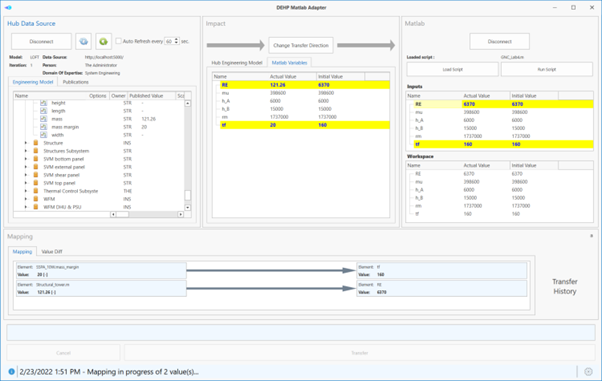
Figure 10:The value has been mapped and the relevant trees are highlighting the differences.
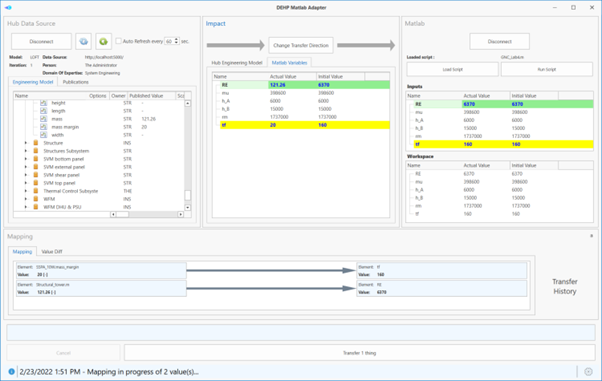
Figure 11:Selecting mapped things to transfer.

Figure 12:Confirmation that the transfer went as expected.
Executing the script
- Run the script.
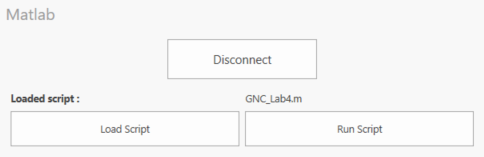
Figure 13:Run the Script
Mapping from MATLAB to E-TM-10-25
- First, change the transfer direction so that the mapping source is the MATLAB Data Source.
- You might want to run the experiment to be able to map more than the initial values.
- Select some Variables that contain the values you want to map.
- Right click on your selection and select “Map Selection”.
- Map each desired value to one Parameter or ParameterType.
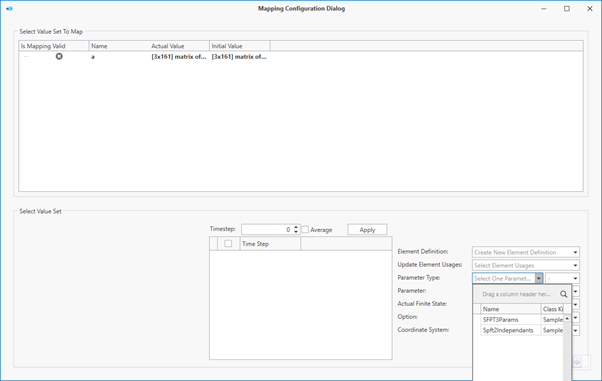
Figure 14:Mapping a matrix to a SampledFunctionParameterType.
When mapping a Matrix, only compatible ParameterType are available. Once an existing Parameter or a ParameterType has been selected, you are invited to configure the mapping of the SFPT, like shown in Figure 15. You can decide which Parameter Type of the SFPT correspond to which row or column of the Matrix and if one of the Independent Parameter Type contains TimeStep or not. If one of the Independent Parameter Type contains TimeStep, you can select a subset of values to mapped, like shown in Figure 16.
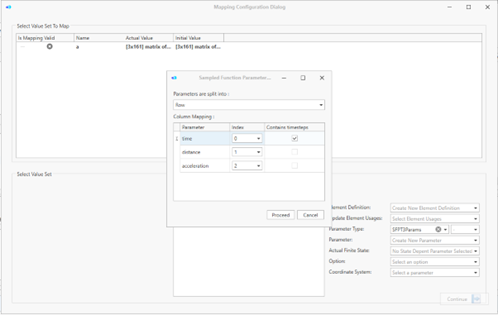
Figure 15:Configuring an SFPT with Tagged Values
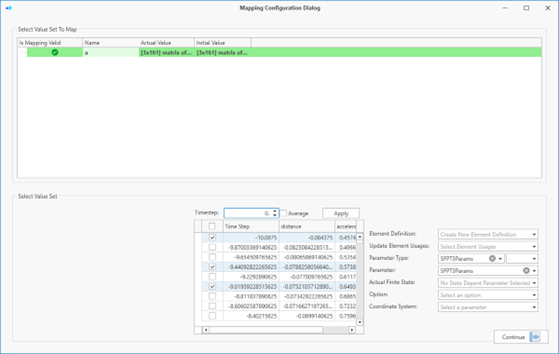
Figure 16:Selecting multiple tagged values
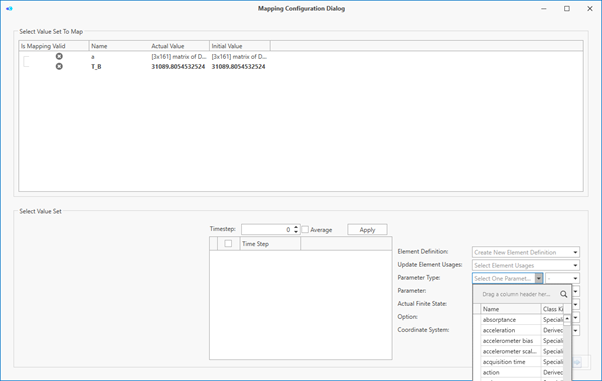
Figure 17:Searching for a ParameterType. When mapping a Variable which is not a Matrix, all ParameterType are available, excepts ArrayParameterType and SampledFunctionParameterType.
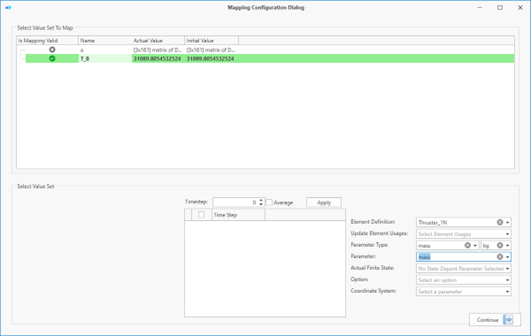
Figure 18:Mapping one value to a new QuantityKind Parameter of an existing ElementDefinition.
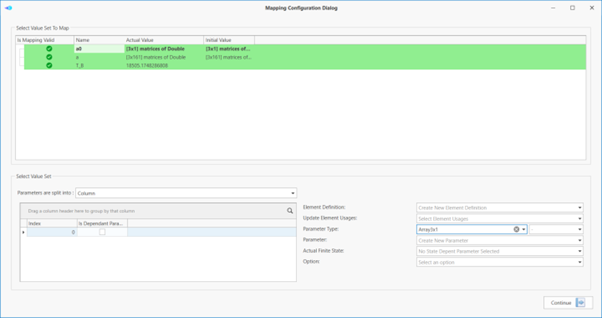
Figure 19:Mapping one matrix to a new ArayParameterType Parameter of a new ElementDefinition.
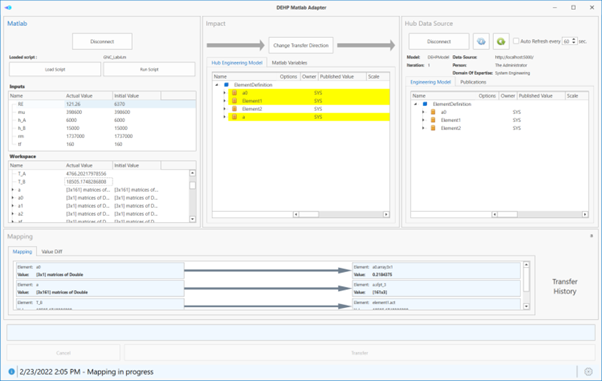
Figure 20:Preview of the defined mapping done in Figure 19 Mapping one matrix to a new ArayParameterType Parameter of a new ElementDefinition.

Figure 21:Preview of the calculated value differences.
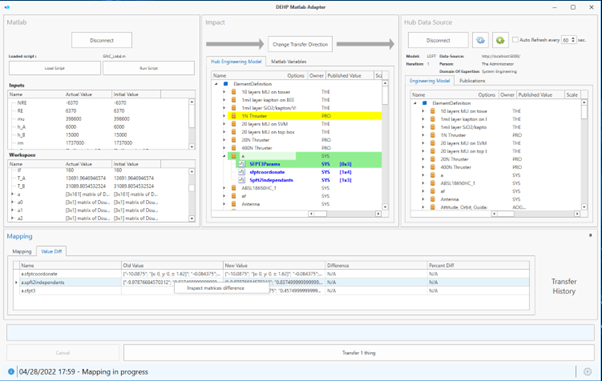
Figure 22:The preview difference with context menu When mapping a Matrix, it is possible to preview the difference of values of the existing SFPT or ArrayParameterType and ones of that will be transfer. This preview is accessible by right clicking on the row corresponding to this matrix in the “Value Diff” tab, like shown in the Figure 22.
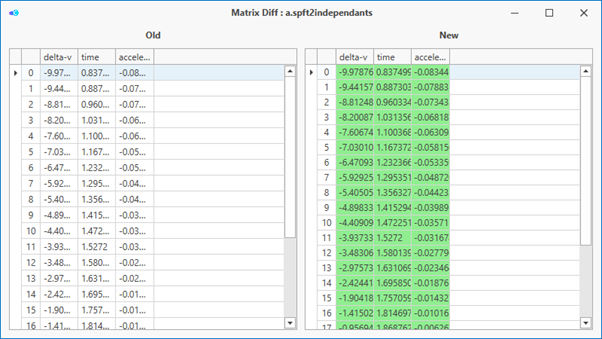
Figure 23:The difference of 2 matrices
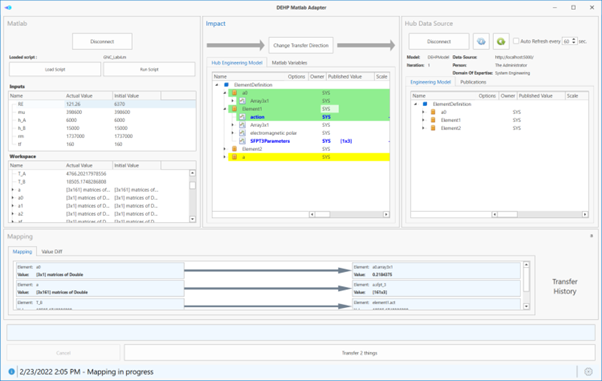
Figure 24:Selecting mapped thing to transfer.

Figure 25:Expected result of a transfer from MATLAB to COMET®.
Reviewing the exchange history
The exchange history is available through the “Transfer History” button.
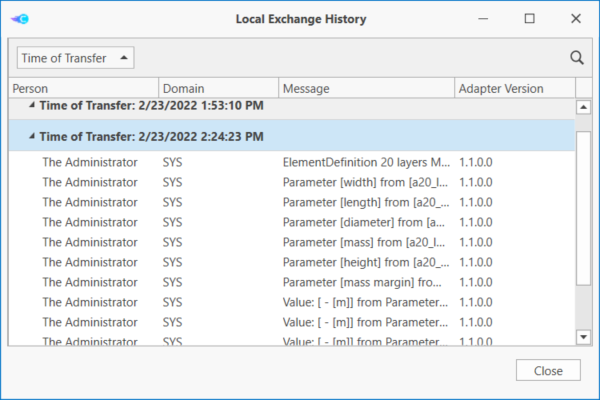
Figure 26:Reviewing the exchange history.