Ecosim Pro adapter - Tutorial
Table of Contents
Introduction
In the tutorial section, you will see how to use the software performing basic tasks.
Getting Started
To get started 3 simple tasks are required to be accomplished.
Starting an OPC UA server
From EcosimPro
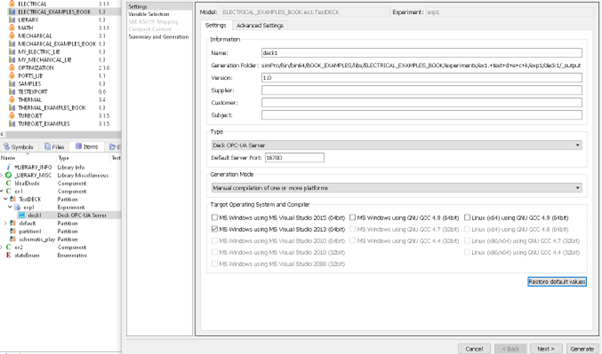
Figure 2:Generate the OPC UA Deck from one experiment.
Important to note the experiment must contain a special condition block in its block body as stated in the  Figure 1:EcosimPro experiment Body.
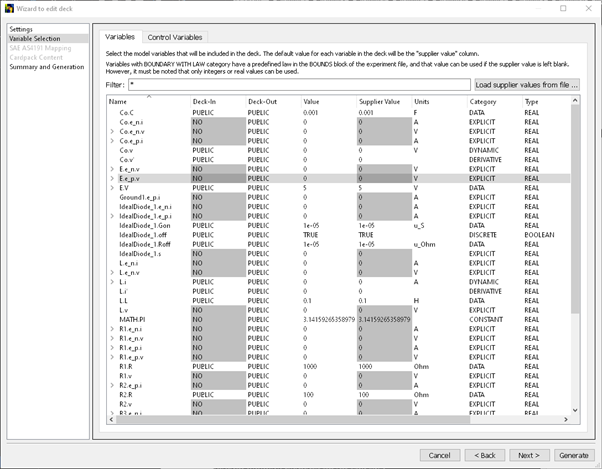
Figure 3:Choose Variable Deck-Out/Deck-In privacy
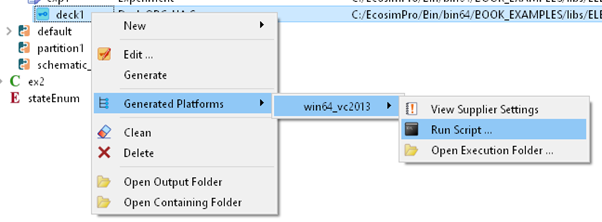
Figure 4:Run script for one generated plateform
From an already built server
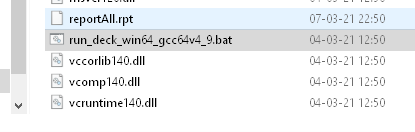
Figure 5:Run the “run_deck_{platform}.bat”.
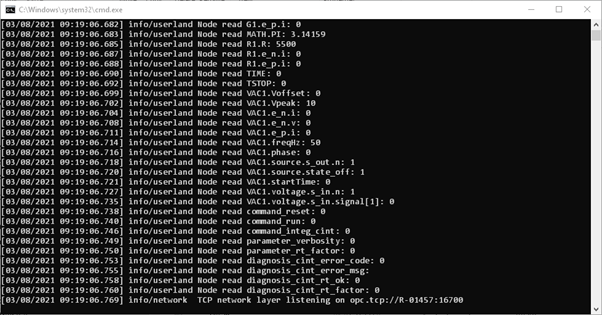
Figure 6:The OPC UA server is ready.
Starting the Adapter
Run the DEHPEcosimPro.exe from the location where you have previously unzipped the adapter zip file.
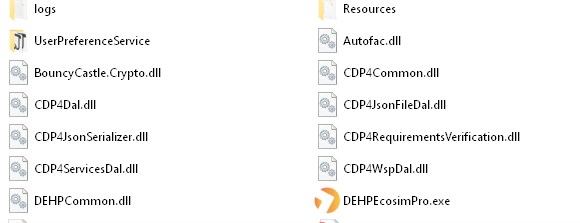
Figure 7:The EcosimPro adapter install location.
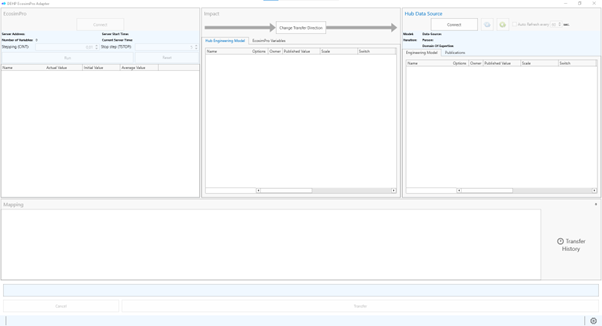
Figure 8:The main window at start
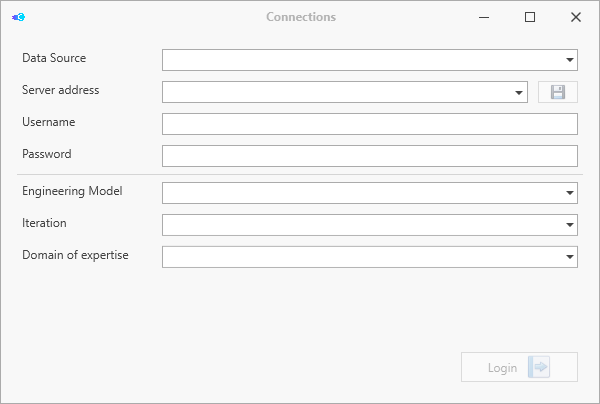
Figure 9:Connecting to a COMET® server and opening an Iteration.
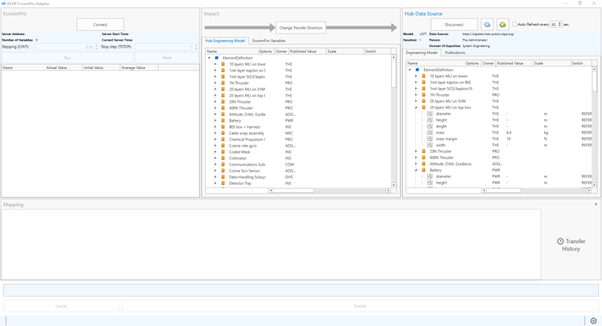
Figure 10:The main window with the ElementDefinition tree after opening an Iteration.
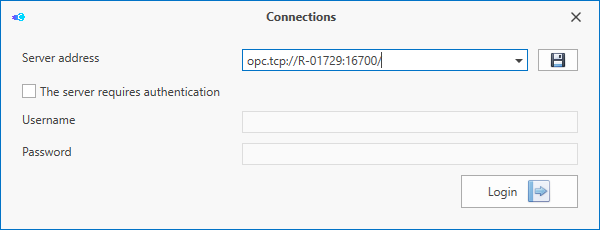
Figure 11:Connection to the OPC UA Server
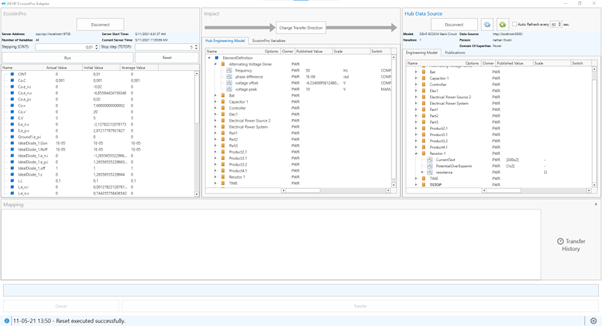
Figure 12:The main window with both data source connected.
Using the Software on a Typical Task
Mapping from E-TM-10-25 to OPC UA
- First, change the transfer direction so that the mapping source is the Hub Data Source.
- Select some ElementDefinitions that contain the values you want to map.
- Right click on your selection and select “Map Selection”.
- Map each desired value to one Variable.
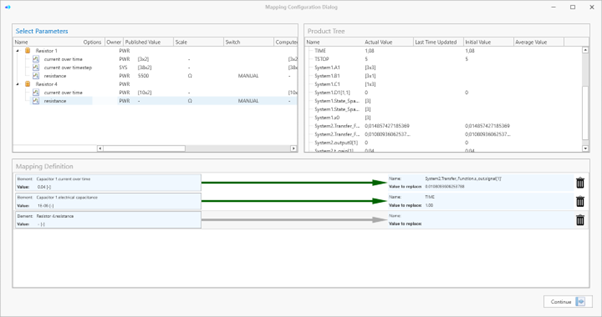
Figure 13:Mapping a value from a Parameter to a Variable.
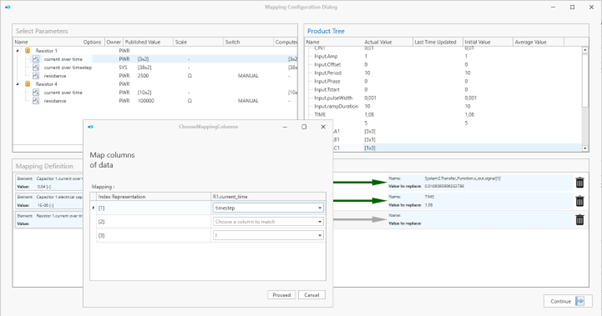
Figure 14:Mapping a SampledFunctionParameterType to an OPC array.
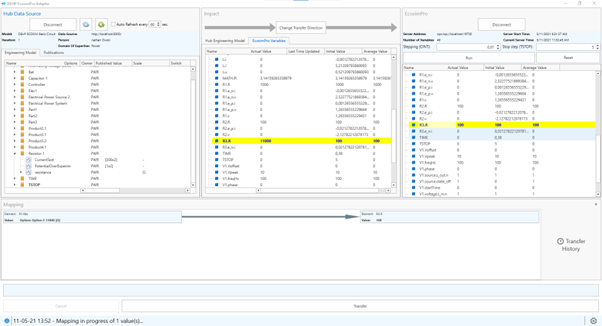
Figure 15:The value has been mapped and the relevant trees are highlighting the differences.
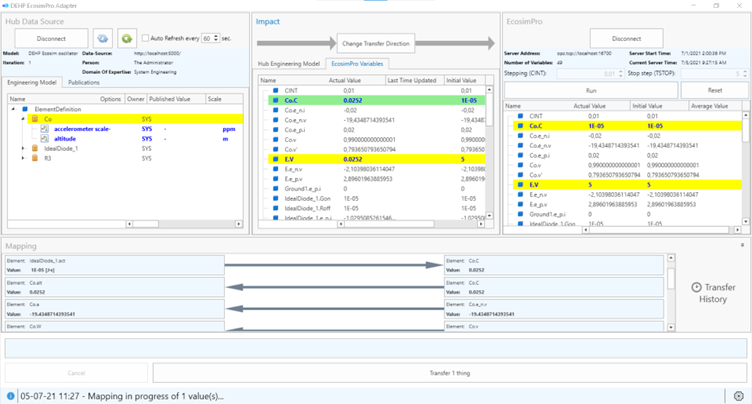
Figure 16:Selecting mapped things to transfer.

Figure 17:Confirmation that the transfer went as expected.
Running the experiment
- Set up the CINT and TSTOP (

Figure 18:Setting up CINT and TSTOP.).
- Run the experiment.
Figure 18:Setting up CINT and TSTOP.
Mapping from OPC UA to E-TM-10-25
- First, change the transfer direction so that the mapping source is the EcosimPro Data Source.
- You might want to run the experiment to be able to map more than the initial values.
- Select some Variables that contain the values you want to map.
- Right click on your selection and select “Map Selection”.
- Map each desired value to one Parameter or ParameterType.
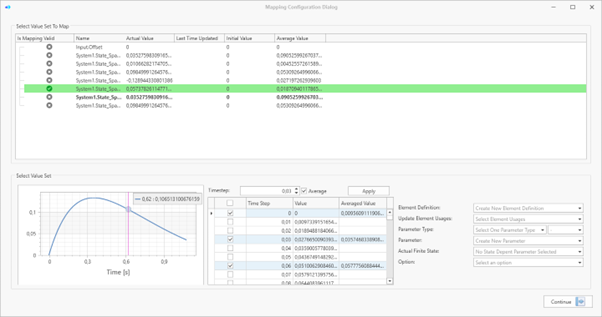
Figure 19:Mapping a set of Time step/Values with a specific interval and the average value for each selected Time step/Values.
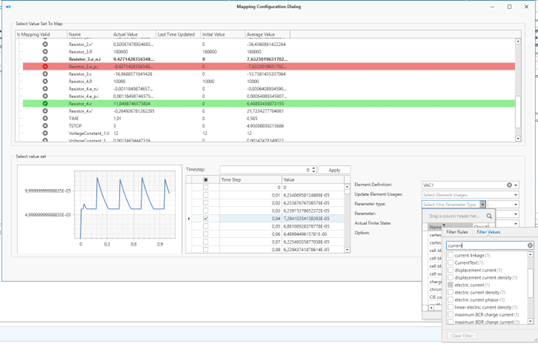
Figure 20:Searching for a ParameterType.
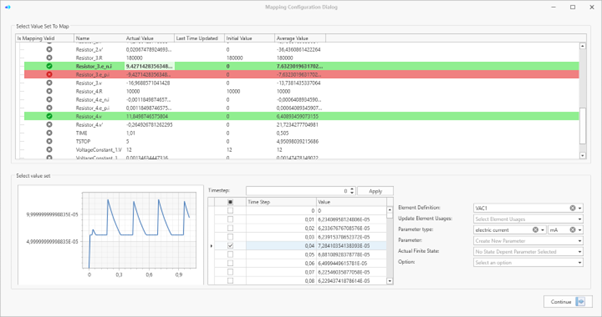
Figure 21:Mapping one value to a new QuantityKind Parameter of an existing ElementDefinition.
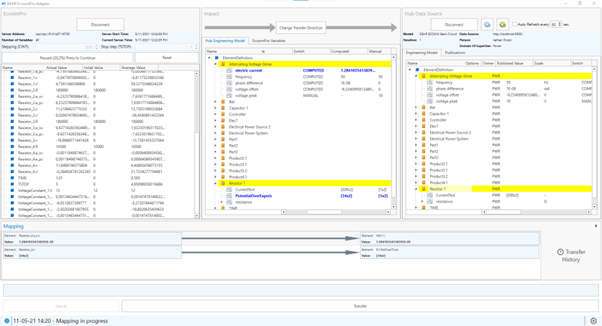
Figure 22:Preview of the defined mapping in Figure 19 and Figure 21

Figure 23:Preview of the calculated value differences.
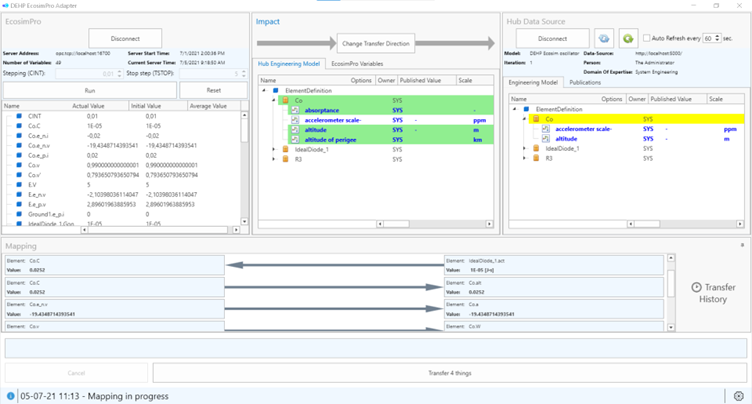
Figure 24:Selecting mapped thing to transfer.

Figure 25:Expected result of a transfer from EcosimPro to COMET®.
Reviewing the exchange history
The exchange history is available through the “Transfer History” button.
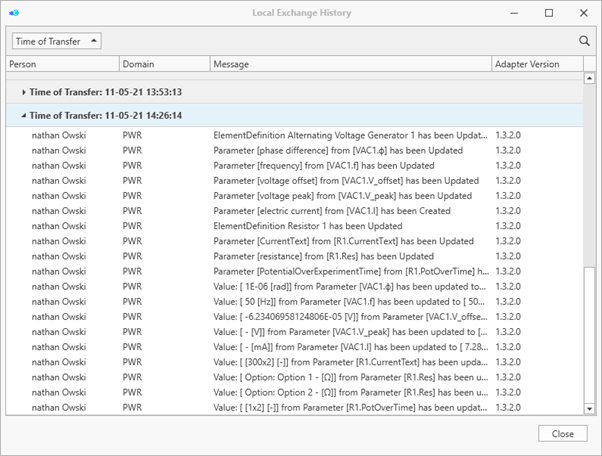
Figure 26:reviewing the exchange history.